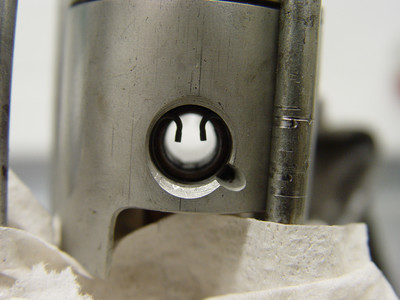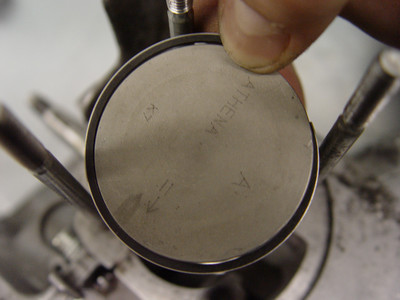
11 / Place the piston ring into the piston groove.
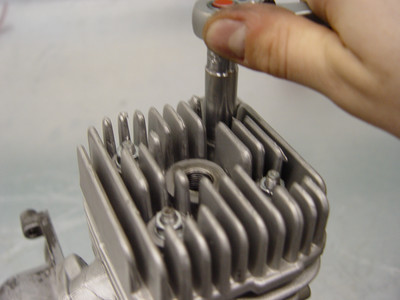
20 / Tighten the nuts crosswise to the torque recommended by the manufacturer. The assembly of the cylinder kit is now complete. Now you can take care of adjusting squish clearance, we made a tutorial to help you do it.
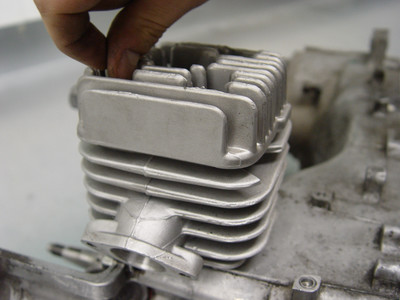
19 / Screw in the cylinder head nuts.
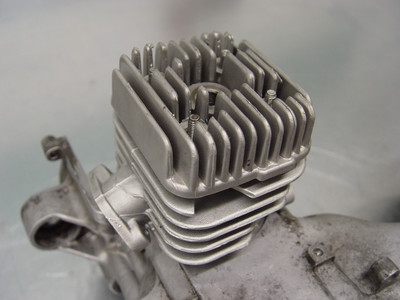
18 / It should look like this.
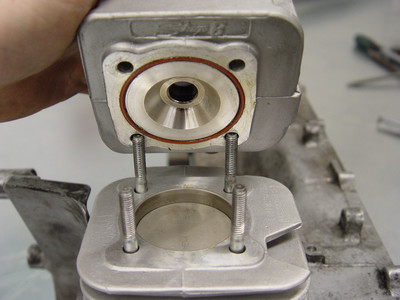
17 / Then mount the cylinder head, paying attention to the direction of the cooling fins.
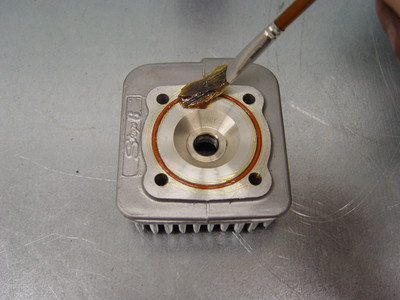
16 / Insert the cylinder head gasket or flat gasket (depending on the model) into the groove and apply some grease to ensure that the gasket is kept in place.
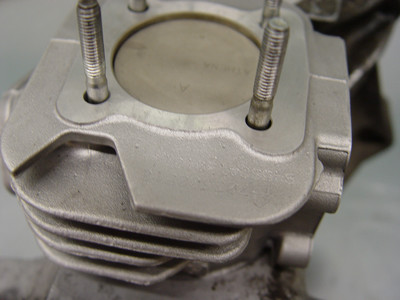
15 / The only thing left to do is mount the gaskets and the cylinder head.
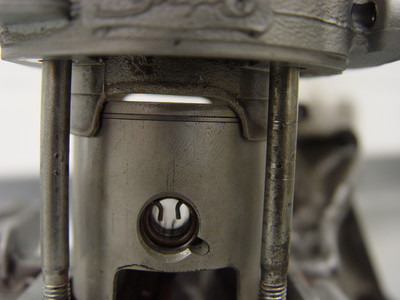
14 / Now the cylinder can be installed.
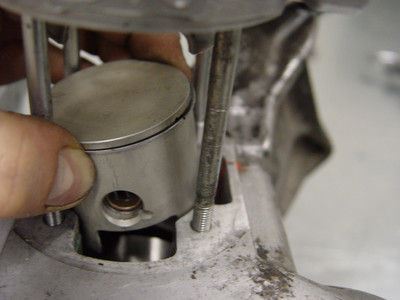
13 / Clamp the piston ring together with your fingers so that it can be inserted into the cylinder without using any force. For the sake of simplicity, the piston is set to TDC.
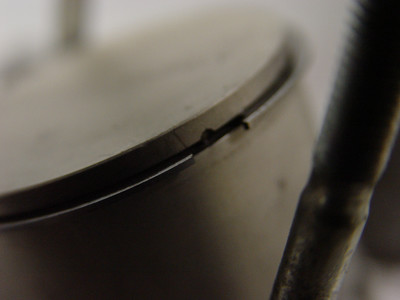
12 / The piston ring gap must be aligned with the locking pin.
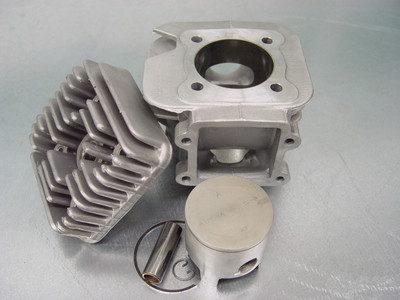
01 / We will install a Stage6 Racing cylinder in a Minarelli vertical engine. This type of installation applies to all 2-stroke engines.
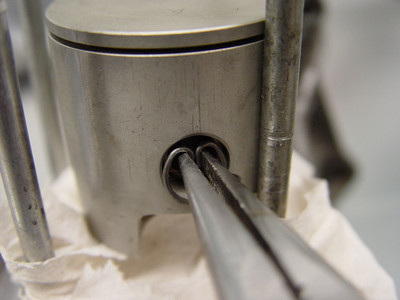
09 / Insert the circlip as carefully as the other one. It must be possible to turn the piston clip (with pliers) in the groove without it jumping out!
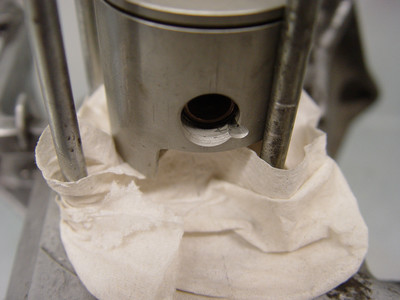
08 / Place paper in the engine to prevent the circlip from falling into the crankcase.
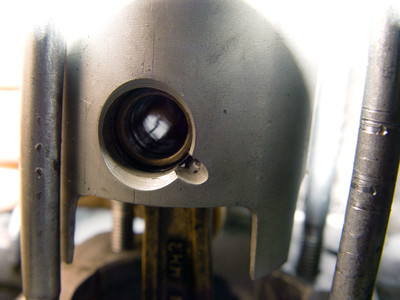
07 / Then guide the piston pin through the hole until it touches the previously fitted circlip.
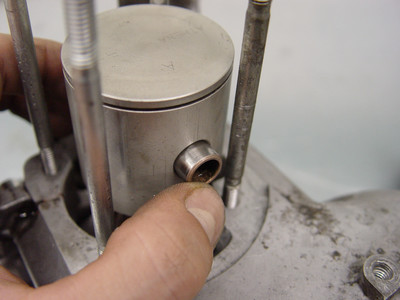
06 / Attach the piston to the connecting rod, paying attention to the correct direction. The arrow on the piston crown must point towards the exhaust.
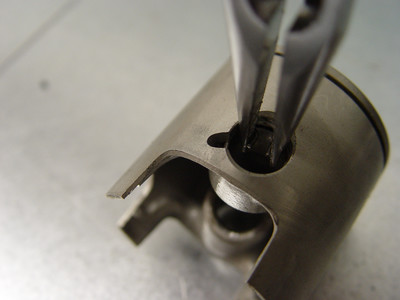
05 / If the piston circlip is bent or cannot be mounted well, please use a new! These small circlips must be in mint condition, otherwise you risk damaging your engine.
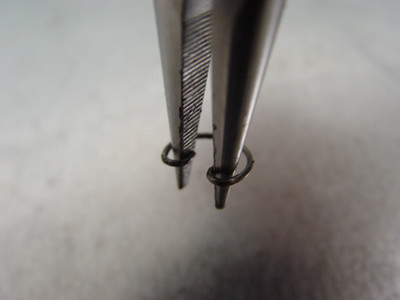
04 / Insert the locking clip with needle-nose pliers, making sure that it is correctly seated.
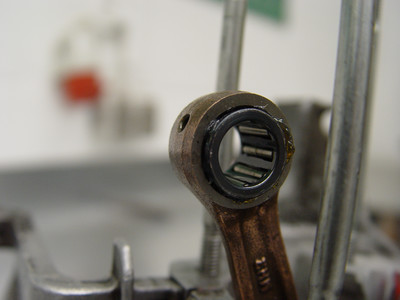
03 / Insert the small end bearing into the connecting rod end.
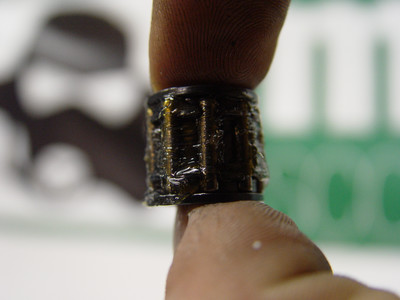
02 / Start by greasing the small end bearing.
